LAMP Stack on Gentoo Linux
There aren't many sites showing how to configure LAMP (Linux, Apache, MariaDB, PHP) stack on Gentoo. Since I'm new to Gentoo and in need of configuring LAMP stack, I compiled the steps.
Disclaimer:
The information in this site is the result of my researches in the Internet and of my experiences. This information below is solely used for my purpose and may not be suitable for others.
Apache:
Web Server. Install apache with the threads support.# echo
"www-servers/apache threads" > /etc/portage/package.use/apache
# emerge --ask www-servers/apache
Then, enable global apache2 support for other applications.# nvim /etc/portage/make.conf
==========
....
USE="... apache2"
Once the USE variable in /etc/portage/make.conf is modified, update the system so the changes take effect.# emerge --ask --changed-use --deep @world
Start the apache2 process and make it so that it automatically restarts after each reboot.# /etc/init.d/apache2 start
# rc-update add apache2 default
Apache - Virtual Hosts
Apache Virtual Hosts allows to run multiple instances of websites using a single IP address. This is a good option for me when I work on a few websites at the same time. Create a conf file under /etc/apache2/vhosts.d/ for each website.# nvim /etc/apache2/vhosts.d/site1.conf
==========
<VirtualHost *:80>
ServerAdmin email@localhost
DocumentRoot /home/ubyt3m3/www/site1
ServerName site1
ErrorLog /var/log/apache2/site1.err
CustomLog /var/log/apache2/site1.log combined
<Directory "/home/ubyt3m3/www/site1">
Options Indexes FollowSymLinks
AllowOverride None
Require all granted
</Directory>
</VirtualHost>
# nvim /etc/apache2/vhosts.d/site2.conf
==========
<VirtualHost *:80>
ServerAdmin email@localhost
DocumentRoot /home/ubyt3m3/www/site2
ServerName site2
ErrorLog /var/log/apache2/site2.err
CustomLog /var/log/apache2/site2.log combined
<Directory "/home/ubyt3m3/www/site2">
Options Indexes FollowSymLinks
AllowOverride None
Require all granted
</Directory>
</VirtualHost>
Restart the apache2 process to reload the config file(s).# /etc/init.d/apache2 reload
Maria DB
MariaDB is a community-developed, open source relational database management system (RDBMS). It's a fork from MySQL which's owned by Oracle. # emerge --ask dev-db/mariadb
Auto start mysql after each reboot. # rc-update add mysql default
Now, it's time to configure MariaDB. With Gentoo, this can be done with emerge --config. # emerge --config dev-db/mariadb
This will create a database and set permissions. You will set a root password during this process.
Start the mysql process.# rc-service mysql start
PHP
Set USE flags for PHP and install it.# echo "dev-lang/php cgi cjk curl exif gd mysql mysqli pdo postgres threads xslt" > /etc/portage/package.use/php
# emerge --ask dev-lang/php
Then, configure apache for PHP by updating /etc/conf.d/apache2.# nvim /etc/conf.d/apache2
==========
...
APACHE2_OPTS="... -D PHP"
...
Restart the apache2 process.# /etc/init.d/apache2 restart
Verify if PHP works with Apache$ nvim /home/ubyt3m3/www/site1/index.php
==========
<html>
<body>
<?php phpinfo(); ?>
</body>
</html>
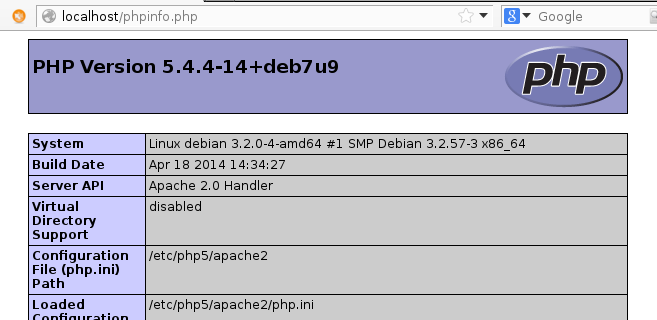
It works!
Troubleshooting 403 Fobidden Error
If the steps are followed, it's not the types of errors you get, but it's good to know how to approach when it happens.
- Check to see if the directory and file permissions are properly set.
Directory: 0755
File: 0644 - The default directory index page is there. It is defined in the DirectoryIndex directive in apache's modules.d/70_mod_php.conf file.
DirectoryIndex index.php index.html - The Apache website mentions that the index of a directory is handled by mod_dir. In Gentoo, its config file is in modules.d/00_default_settings.conf. Add index.php in front of index.html should allow index.php loaded automatically.
<IfModule dir_module>
DirectoryIndex index.php index.html index.html.var
</IfModule dir_module> - Make sure the correct directory permissions are set in the Directory directive in the apache's config file.
Options Indexes FollowSymLinks
AllowOverride None
Require all granted - Check the error file for some hints.
tail -f [path_to_apache_error_file]
That's all!
-gibb